Review on 🔩 Reliabot Hardened Linear Chrome Plating by Christopher Gulledge

The straightest rods I have ever tested. Excellent customer service
I tested several rods with a dial indicator to check straightness. I use a digital HF dial gauge on a magnetic stand. The key to getting consistent results is a pusher that moves across the rod so that a slight xy position error doesn't affect the dial indicator reading. I use a piece of glass as it provides a perfectly flat rod surface. Good standard bars usually have an out-of-roundness < 0.05 mm. Unfortunately one of my boxes was damaged in transit but one of the poles was not damaged. It measured better than 0.01mm!. The second set of rods arrived in perfect condition with high density foam separating the rods and protecting them from the box in 5 different places. Customer service was excellent for a damaged box. I'll update when I get a chance to test a second set of bars.
- Linear Bearing
- Expensive
New products
Comments (0)
Top products in 🔩 Bearings

Xiaomi Air 2 Pro Wireless Headphones, Black

86 Review
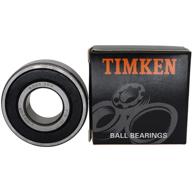
🔧 High-Quality TIMKEN 6203 2RSC3 6203 2RS Bearing - Size: 17X40X12mm

4 Review
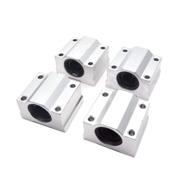
Enhanced Performance Sydien SCS12UU Bearing Bushing Diameter for Precision Machinery

4 Review
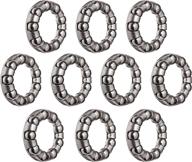
👜 Wheels Manufacturing Ball Retainer Bag: Convenient Storage and Protection for Your Ball Retainers

6 Review


