
Review on 📺 Portable Raspberry Monitor with High Resolution 1280×800 and HDMI Connectivity by David Ward

Honest screen and settings, adjustments needed.
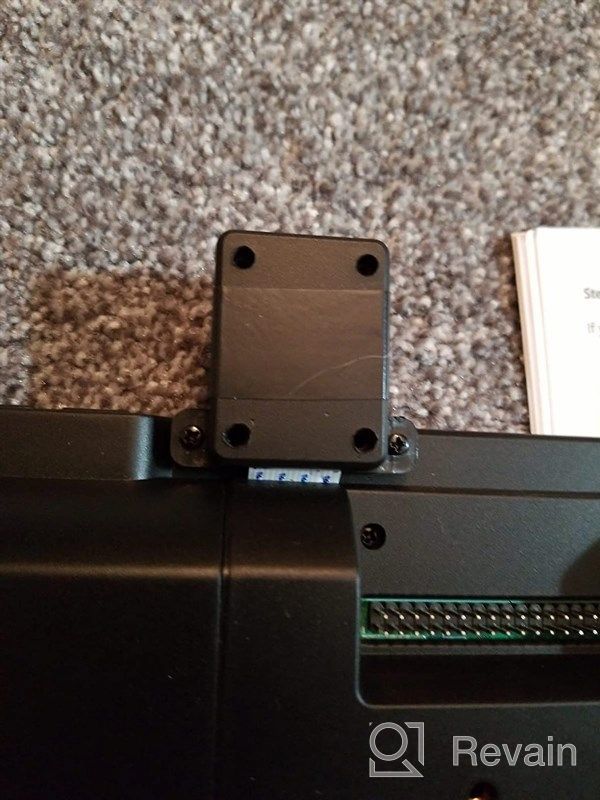
It's a full install, all you really need is a keyboard and mouse. What, as they say. Go to the 30mm fans to install the GPIO pins. Use the current 4 screw positions. Two per fan. When installing, slide them in a checkerboard pattern. Make sure you have heatsinks on the Pi. Remove the plastic clips from the internal HDMI cable and the power cable, you need to open the whole case. I had to on mine because they were installed poorly, the HDMI board wasn't fully connected. With two fans on pins, the temperature of the Pi is between 34 and 45 degrees Celsius. By reducing the black light, some heat is extracted from the Pi. Otherwise your rpi4 may reach new speeds. The fan that comes with the kit is not close enough and poorly made. If you are using a micro SD card, install it before installing rpi 4. I use USB 3.1 for this. The rest is just great. The speakers are good too. I've been using perpetual fast charging for portability, so buy a CY DC 5.5 x 2.5mm to Type-C USB-C input cable. The WiFi on the rpi4 still works as some rpi4s last beyond the life of the WLANs fail. Currently my rpi4 8GB with installed USB 3.1 (Twister) OS works very well with this setup.
- great block Customer service is incredible. They contacted me to verify delivery and satisfaction.
- Bad viewing angles
New products
Comments (0)
Top products in 🖥 Monitors

HP 24Uh 24" Backlit Monitor 1920x1080p, 60Hz, LCD with HD Resolution - K5A38AA#ABA

101 Review

Dell SE2216HV LED 💻 Monitor with 60Hz Refresh Rate
101 Review

Dell SE2416HX Screen LED Lit Monitor 23.8", 1920X1080P, HDMI
93 Review

🖥️ Revolutionize Your Interface with Planar PXL2230MW 22 Inch 16 Touchscreen

97 Review
Another interesting products

Logitech HD Webcam C270: Crisp 720p Widescreen Video Calling & Recording (960-000694), Lightweight and Portable at 3.15 lb.
192 Review

🎥 Logitech C270 Webcam: Crystal Clear Video and Superior Quality
183 Review

Enhance Your Visual Experience with Logitech C260 Webcam
78 Review

Renewed Logitech G PRO X Wireless Lightspeed Gaming Headset with Blue VO!CE Mic Filter for Immersive Gaming Experience
122 Review