
Review on Dell MDS14 Monitor Stand - Adjustable Height, 5TPP7, 1920X1200 by John Bharudin

ASSEMBLY INSTRUCTIONS
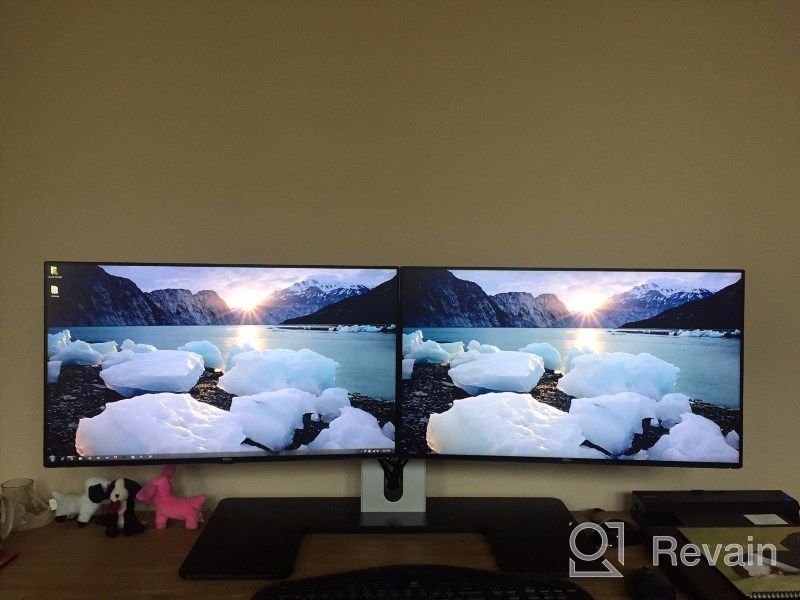
GREAT MONITOR! ASSEMBLY INSTRUCTIONS BELOW I want to bless everyone who had difficulty building this masterpiece. I may be late to help you, but I wholeheartedly recommend this monitor stand and show you how to assemble it. Dell has a video showing this monitor popping out 24.6 inches from the back of a table. My measurements were 24-3/8 inches. DELL says the stand will support 20.5 pounds. DELL provides a video with specifications and instructions on its website at http://accessories.dell.com/sna/productdetail.aspx?c=us&l=en&s=dhs&cs=19&sku=332-1235 The following may be more helpful.1. Attach the base to the table (the top of the table should extend 3 inches over the edge). In my case, my lead was only 1-7/8" and I tightened the nut as far as I could and then moved it (forced) it onto the table and tightened the nut as tight as I could before it hit the Post hit the back of the table 2. Remove the cap covering the cables on the forearm, use the largest flathead screwdriver and carefully pry the cap up starting at the bend (points to the bend in the photo) and work Proceed to the end Do both sides and then slide the entire cover towards the screwdriver in the other photo.3 This stand came pre-lubed but the lube has dried and you want to clean it and both ends on BOTH ARMS re-grease. It is particularly important to apply plenty of grease to the plastic disc that the LOWER arm sits on. I had a Kohler kitchen faucet of the same layout, the plastic wore out after 5 years. I fi Find this to be a heavier use than a sink faucet and would even suggest raising the monitor just enough to unload it when you turn on that plastic spacer. I used clear teflon grease on the seal and all pivot points. If you already own a booth and haven't already, you should.4. Slide the lower arm onto the base and use the small hex wrench to turn the SMALL hex bolt CLOCKWISE until it touches the base, then loosen it 1/4 turn. This screw is only there to prevent the lower arm from slipping off the base. DO NOT PUT ON.5. Remove the caps from both sides of the top of the lever with your fingernails and clean and lubricate this lever. Slide the upper arm over the lower arm and adjust the SMALL allen screw exactly as in step 4 above.6. Connect a monitor; I have a DELL and it just turns on.7. Attached power cord and monitor cable to control and fix the cables when replacing all three caps. Slide the bottom COVER in the opposite direction as shown to remove, align the bottom of the cover where it belongs and push back in.8. Finally, the TOP ARM must be adjusted to the weight of the monitor. Bend that UPPER lever down and you'll find a large hex head screw that you'll probably need to loosen (COUNTER-CLOCKWISE); tighten (CLOCKWISE). I'm amazed at how much more desktop I have now. Too bad I didn't buy this thing ten years ago. HOW DO YOU LIKE MY COMPUTER; SEE YELLOW ARROW.
- height adjustment
- Limited build quality
New products
Comments (0)
Similar reviews

Top products in 🖥 Monitors

Dell E2318Hx LED Lit Monitor: High-Definition Display with Flicker-Free Technology and IPS Panel

109 Review

LG 27MP59G-P 27 inch Monitor with FreeSync, 75Hz Refresh Rate, and 1080p HD Resolution
93 Review

Dell SE2216HV LED 💻 Monitor with 60Hz Refresh Rate
101 Review

Dell SE2416HX Screen LED Lit Monitor 23.8", 1920X1080P, HDMI
93 Review
Another interesting products

Renewed Logitech G PRO X Wireless Lightspeed Gaming Headset with Blue VO!CE Mic Filter for Immersive Gaming Experience

122 Review

Apple AirPods Pro MagSafe RU Wireless Headphones, White
159 Review

💻 Get Amazing Video Quality with Logitech HD Pro Webcam C920 (Discontinued Edition)
83 Review

Smartphone Samsung Galaxy A50 4/64 GB, 2 SIM, black

82 Review