
Review on Thermaltake Suppressor F1 Mini ITX Tt LCS Certified Cube Computer Chassis - Black by Sai A Nyi ᠌

A good product at a good price, I advise you to try it.
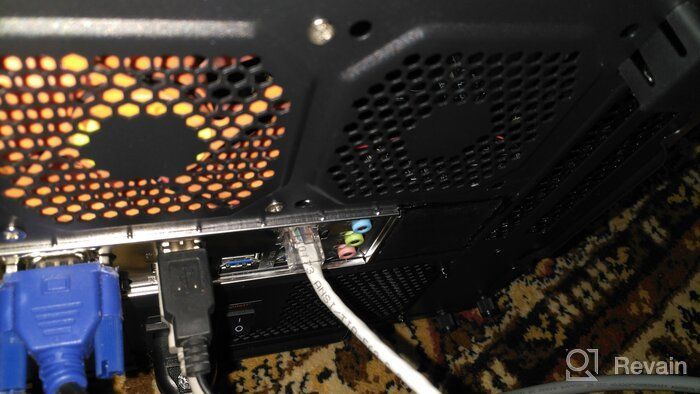
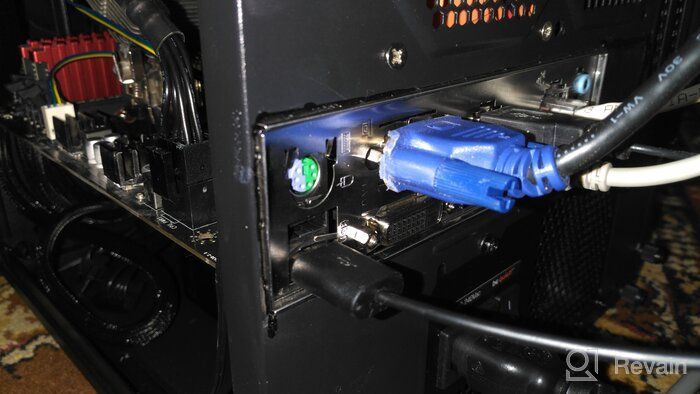
I will briefly describe how I remade the AM4 board for matx: 1. We take the dimensions from the plug of the motherboard and mark the cutout for it on the case. It comes out almost almost to the end of the body (does not reach somewhere 3 mm for the edge of the plug) 2. With a jigsaw / grinder / hacksaw we saw off the marked piece of the body 3. We glue the sawn off piece with epoxy on the other side of the hole for the mat plug. fees. It turns out as if we have shifted the hole for the motherboard cover by about 5 cm to the edge of the case (see photo, it's clearer) 4. Of the four mounts, one is suitable for the motherboard. On three fasteners that do not match, apply epoxy / a piece of electrical tape for insulation. They will simply serve as a support for the board. 5. We mark places on the case for additional fastening of the motherboard, since one fastening is not enough. With a 3 mm drill, we drill the case in the marked place and install the boss in the hole for attaching the mat. fees. There are no lugs in the kit, but finding them is not a problem) Two lugs were enough for me to mount, in total the board was held on by 3 screws. 6. Places where I glued a piece of the transferred case with epoxy, painted it with a black paint marker.
- I took it for specific niche sizes, the ability to install a matx board
- the front panel is easily pulled out if the case is moved by it
New products
Comments (0)
Top products in 🎒 Computer Cases

Fractal Design Node 304 - Black - Mini Cube Compact Computer Case - Small Form Factor - Mini ITX – mITX - Enhanced Airflow - Modular Interior - Includes 3x Fractal Design Silent R2 120mm Fans - USB 3.0

42 Review

Fractal Design Define R5 - ATX Mid Tower Computer Case - High Airflow and Silent Optimized - Includes 2x Dynamix GP-14 140mm Silent Fans - Water-Cooling Ready - Black
43 Review

MasterBox Q300L Micro-ATX Tower with Magnetic Dust Filter, Acrylic Side Panel, Adjustable I/O & Ventilated Airflow, in Black
40 Review

Zalman Z3 M ATX 💻 Tower Computer: A Compact and Powerful Machine
77 Review
Another interesting products

Enhanced Sound Blaster Play! 4 Hi-res USB-C DAC and Sound Adapter with VoiceDetect Auto Mic Mute/Unmute, Dual Noise Cancellation, Bass Boost, Dynamic EQs | Ideal for Windows PC Video Calls

13 Review

Enhance Your Gaming Experience with Sound BlasterX G6 Hi-Res DAC and USB Sound Card!
17 Review

Enhance Your Audio Experience with the Creative 70SB181000000 Sound Blaster X3 Digital Audio Converter - Black
13 Review

Creative Labs Sound Blaster Play! 3 External USB Sound Adapter - Compatible with Windows and Mac - Plug and Play (No Drivers Needed) - Enhanced 24-Bit 96Khz Playback Upgrade
53 Review